 Save to Pinterest
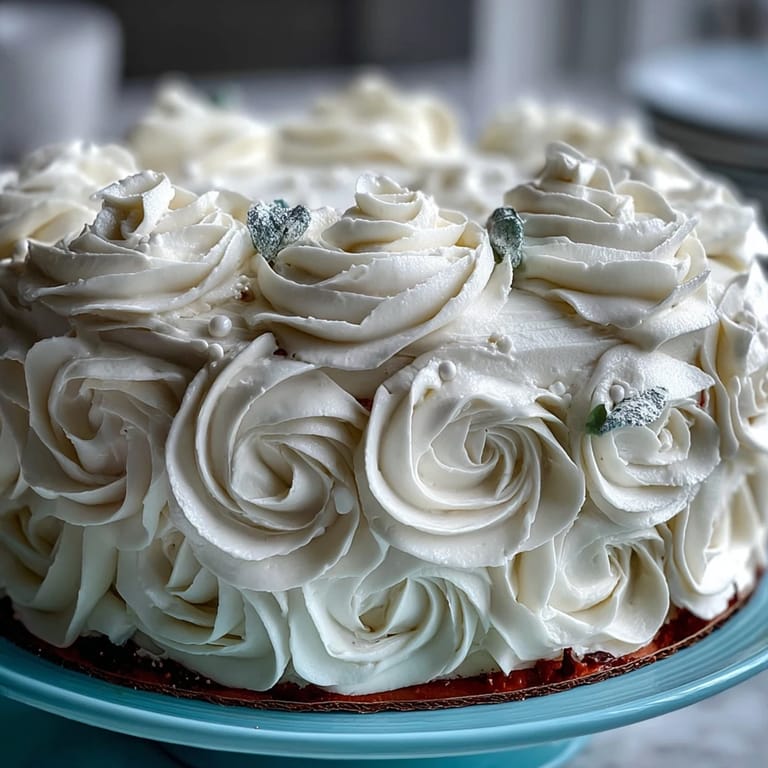
 My neighbor asked me to bake her daughter's First Communion cake three weeks before the date, which meant I had time to overthink every detail. I'd made plenty of cakes before, but something about this one felt different—it needed to feel celebratory and graceful all at once, like the moment itself. The vanilla sponge is intentionally gentle and refined, the kind of cake that lets fondant roses and a delicate cross topper do the speaking. When I finally assembled it in my kitchen on that quiet Saturday morning, watching the white fondant roses catch the light, I understood why she'd trusted me with this particular cake.
I remember frosting this cake at 6 a.m. on the day of the party, my kitchen still dark except for the oven light, radio playing softly. There's something peaceful about working with buttercream when nobody else is awake—no distractions, just the smell of vanilla and the soft scrape of an offset spatula. By the time the sun came up, the cake was dressed in white, roses arranged like they'd grown there, and I felt the kind of satisfaction that comes from knowing you'd created something that would be part of a memory.
Ingredients
- All-purpose flour: The foundation of your sponge; make sure it's not clumpy by sifting or whisking it together with the baking powder.
- Baking powder: This is what gives you those tender, evenly risen layers—don't skip it or swap it for baking soda without adjusting.
- Unsalted butter (for sponge): Room temperature is non-negotiable here; cold butter won't cream properly and you'll end up with a dense cake.
- Granulated sugar: Creaming it with butter for three full minutes incorporates air, which is what makes this cake light and lovely.
- Eggs (room temperature): Cold eggs won't blend smoothly into the batter and can cause the mixture to break or separate.
- Pure vanilla extract: The real deal makes a difference; artificial extract tastes thin and chemical-y by comparison.
- Whole milk (room temperature): Alternating flour and milk prevents overmixing, which keeps your cake tender instead of tough.
- Unsalted butter (for frosting): You need more of this for buttercream than you might think, and it must be softened or the frosting will be lumpy.
- Powdered sugar: Sift it before adding or your frosting will have tiny lumps that feel gritty on the tongue.
- White fondant: Buy quality fondant or make your own; cheap fondant tastes waxy and cracks easily when you try to work with it.
- Edible pearls or silver dragees: These catch light and add just enough sparkle without being over the top.
Tired of Takeout? 🥡
Get 10 meals you can make faster than delivery arrives. Seriously.
One email. No spam. Unsubscribe anytime.
Instructions
- Prepare your pans and preheat:
- Grease two 8-inch round cake pans and line the bottoms with parchment paper so the cakes don't stick. Set your oven to 350°F and let it come fully to temperature—baking in a not-quite-ready oven will throw off your timing.
- Combine your dry ingredients:
- In a medium bowl, whisk together the flour, baking powder, and salt until they're evenly distributed. This prevents lumps of baking powder from creating weird pockets in your cake.
- Cream butter and sugar:
- Beat softened butter and sugar together for a full three minutes until it's pale and fluffy, which looks almost like wet sand. This step is crucial because you're incorporating tiny air bubbles that make the cake rise and stay tender.
- Add eggs one at a time:
- After each egg goes in, beat well before adding the next one so everything emulsifies smoothly. If you dump all the eggs in at once, the mixture can look curdled and broken.
- Mix in vanilla:
- Stir in the vanilla extract until it's fully incorporated and your batter smells impossibly good.
- Alternate flour and milk:
- Lower the mixer speed and add a third of the flour mixture, then half the milk, then another third of flour, then the remaining milk, then the last of the flour. Start and end with flour to prevent overmixing and keep the cake tender.
- Fill pans and bake:
- Divide the batter evenly between the pans and smooth the tops with a spatula. Bake for 30–35 minutes until a toothpick inserted in the center comes out clean or with just a few moist crumbs.
- Cool the cakes:
- Let them sit in the pans for 10 minutes so they can set slightly, then turn them out onto wire racks to cool completely. This usually takes a couple of hours, which is the perfect time to make your buttercream.
- Make the buttercream:
- Beat softened butter until it's creamy and pale, then gradually add sifted powdered sugar a bit at a time, mixing well. Once it starts looking like frosting, add vanilla and a pinch of salt, then add milk one tablespoon at a time until you reach a spreadable consistency.
- Level and crumb coat:
- If your cake layers domed during baking, trim them flat with a serrated knife so they sit evenly. Place one layer on a cake board, spread a thin layer of buttercream on top, then add the second layer and cover the entire cake with a thin crumb coat—this catches all the loose crumbs.
- Chill and frost:
- Refrigerate the crumb-coated cake for 20 minutes so it's cold and firm, then apply your final, smooth layer of buttercream using an offset spatula. Work slowly and let the spatula do the work rather than pressing hard.
- Shape fondant roses:
- Roll out white fondant to about 1/8-inch thickness and cut out rose petals using a small knife or fondant cutter. Roll each petal slightly so it curves, then stack them up with a tiny ball of fondant in the center to create a realistic rose.
- Tint and shape leaves:
- Add a touch of green gel food coloring to a small ball of fondant and knead until it's evenly colored, then shape into leaf-like pieces. These look best when you vein them slightly with the back of a knife.
- Arrange the decorations:
- Place your fondant roses and leaves on the frosted cake in whatever arrangement feels right, then scatter edible pearls or dragees around them. Top everything with your cross topper in a place of honor.
- Chill until serving:
- Keep the finished cake in the refrigerator until you're ready to serve it so the frosting stays smooth and the fondant doesn't soften.
 Save to Pinterest
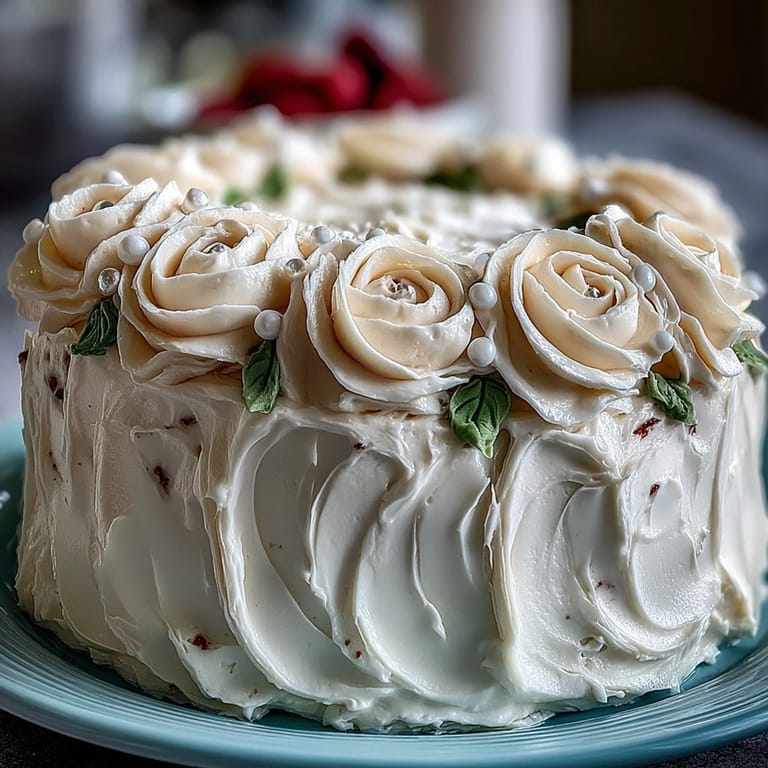
 When the mother saw this cake at her daughter's party, she cried a little, which I didn't expect. Later, she told me it wasn't just the cake itself, but the fact that someone had taken the time to make it special—with those careful roses and the thoughtful details. It reminded me that sometimes a cake is more than cake; it's a visible reminder that someone matters enough to bake for.
Why Vanilla Sponge is the Right Choice
I've made chocolate cakes and lemon cakes and cakes with three layers and elaborate fillings, but for a First Communion, vanilla is exactly right. It's not boring; it's classic and refined, the culinary equivalent of wearing white to something sacred. The flavor lets the buttercream and fondant roses shine without competing, which means every element of the decoration feels intentional rather than desperate to be noticed. Plus, vanilla sponge tends to stay moist longer than fancier flavors, so if you're making this cake a day ahead, it actually tastes better.
The Buttercream Question
I've tried a dozen buttercream recipes over the years, and American-style buttercream—butter, powdered sugar, and cream—is the easiest and most foolproof when you're working with fondant. Swiss or Italian meringue buttercreams are technically superior and taste less sweet, but they're finicky and require cooking eggs over a double boiler, which feels unnecessary for a home baker. American buttercream spreads beautifully under fondant, holds its shape in warm kitchens, and genuinely tastes good, which is all that matters.
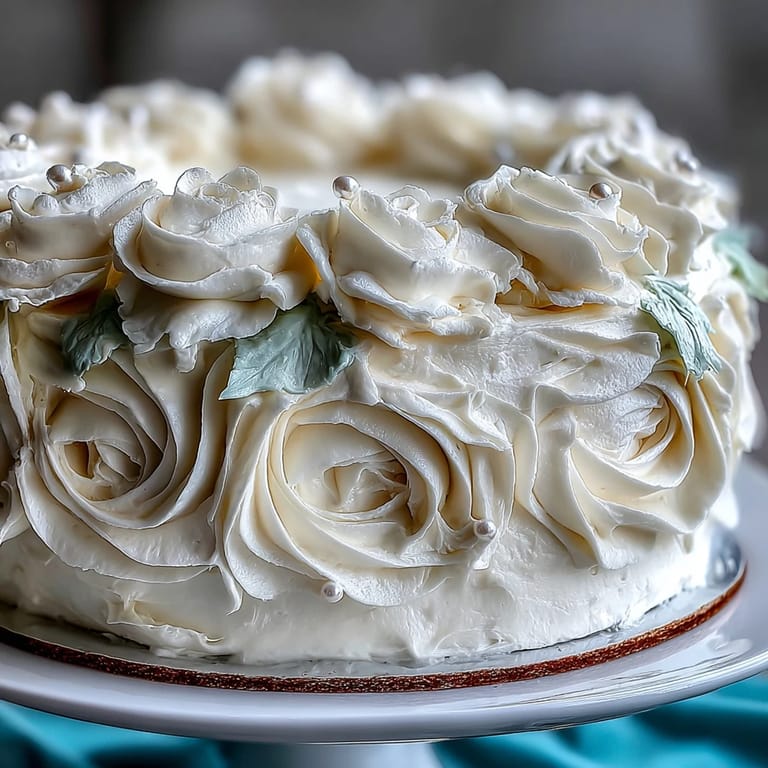
Fondant Roses and What I Learned
The first time I made fondant roses, I tried to be too perfect and they looked stiff and artificial, like something from a plastic cake. The second time, I got impatient and made them too rough and they fell apart. By the third attempt, I realized they need to be somewhere in between—realistic enough to look grown, but not so fussy that they crack. It's less about technique and more about feeling your way through the process.
- Roll each petal thin enough to see light through it, which makes them look delicate and almost translucent like real roses.
- Let finished roses sit on a clean surface for a few hours so they firm up before you place them on the cake.
- If a rose falls apart while you're handling it, just reshape the petals—nobody will ever know it wasn't perfect the first time.
 Save to Pinterest
 This cake exists in the space between simple and special, which is exactly where it should be. Bake it with care and serve it to someone who matters.
Recipe FAQs
- → How is the vanilla sponge prepared to stay tender?
By creaming softened butter with sugar until fluffy, then alternating dry ingredients and milk, the batter remains moist and light.
- → What technique is used to make the fondant roses?
Small fondant balls are rolled, flattened into petals, then assembled layer by layer to mimic natural rose shapes.
- → Can the butter in the sponge be substituted for a lighter option?
Yes, substituting half the butter with vegetable oil yields a lighter texture without compromising moisture.
- → How should the buttercream frosting be applied for a smooth finish?
After a thin crumb coat and chilling, a final smooth layer is applied using an offset spatula for an even look.
- → Are there alternatives to the all-purpose flour for dietary needs?
A 1:1 gluten-free flour blend can be used to make the sponge suitable for gluten-sensitive diets.
- → What additional decorations complement the fondant roses?
Edible pearls or silver dragees add texture and shimmer, enhancing the cake’s elegant appearance.