 Save to Pinterest
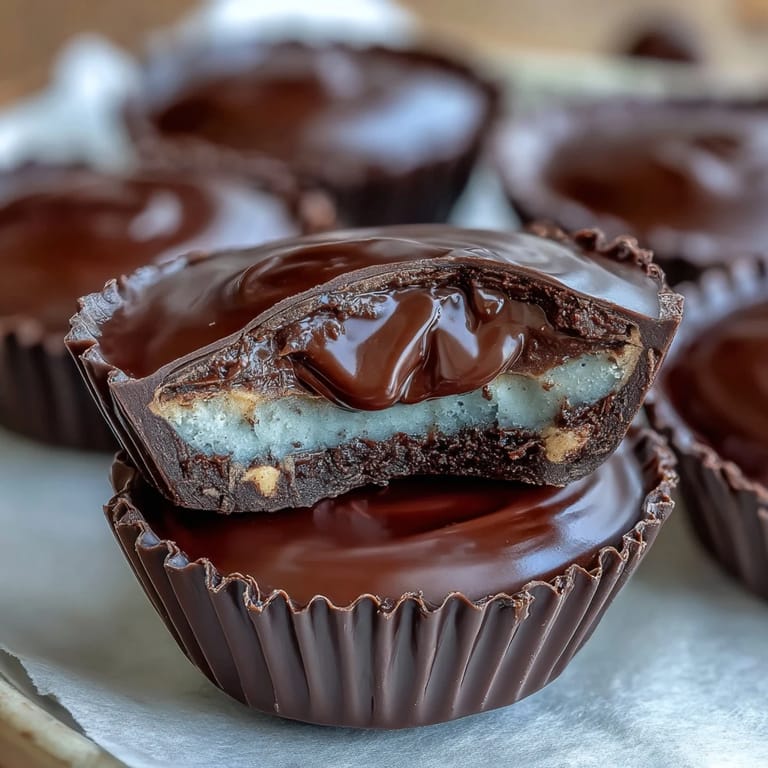
 Late one afternoon, I was standing in my kitchen feeling restless about my usual protein shake routine when I noticed a container of Greek yogurt and some dark chocolate sitting side by side on the counter. What if I combined them into something that actually tasted like a treat instead of feeling like an obligation? Within minutes, I was melting chocolate and sketching out layers in my mind—and by evening, I had created these little cups that somehow managed to taste indulgent while delivering real nutrition.
I brought these to a potluck last month where someone immediately asked what fancy chocolatier I'd bought them from, and I still think about that moment. The look on their face when I said I'd made them at home—that's when I knew this recipe belonged in my regular rotation, not just as a passing experiment.
Ingredients
- Dark chocolate (200 g, 70% cocoa or higher), chopped: This percentage matters because it balances bitterness with sweetness; lower cocoa content can make the cups taste one-dimensional.
- Coconut oil (1 tbsp): Helps the chocolate stay smooth and prevents seizing, plus it gives a subtle richness that butter doesn't quite achieve.
- Natural peanut butter (120 g): The real stuff, with just peanuts and salt—no added oils or sugars that would make the layer greasy.
- Honey or maple syrup (1 tbsp for peanut butter layer): Brings moisture and binding power that helps the peanut butter hold together when you add the protein powder.
- Vanilla or unflavored whey protein powder (1 scoop, about 30 g): This does double duty—adding protein while thickening the peanut layer so it doesn't squish when you add the yogurt filling.
- Thick Greek yogurt (180 g, full-fat or 2%): Don't use nonfat or the filling will taste thin and chalky; the fat is what makes it creamy and luxurious.
- Honey or maple syrup (1 tbsp for yogurt filling): Sweetens the yogurt without needing sugar and helps it hold shape better.
- Vanilla extract (1 tsp): A small amount that rounds out the flavor without screaming artificial.
- Salt (pinch): Awakens all the flavors and keeps the filling from tasting flat.
Tired of Takeout? 🥡
Get 10 meals you can make faster than delivery arrives. Seriously.
One email. No spam. Unsubscribe anytime.
Instructions
- Set up your stage:
- Line your muffin tin with paper liners so you have everything ready before the chocolate starts to set. Working quickly with melted chocolate is part of the magic here.
- Melt the chocolate carefully:
- Use 30-second microwave bursts, stirring between each one, so the chocolate stays silky instead of turning grainy and broken. This patience pays off every single time.
- Create the chocolate base:
- Spoon about a teaspoon of melted chocolate into each liner and use the back of your spoon to gently push it up the sides a little, creating a thin shell. Freeze for 10 minutes until it's set but not rock hard.
- Mix the peanut butter layer:
- Combine peanut butter, protein powder, and honey in a bowl until the powder fully disappears and you have a smooth, spreadable consistency. If it's too thick, add a tiny splash of warm water.
- Prepare the yogurt filling:
- Mix Greek yogurt with honey, vanilla, and salt until it's completely smooth and creamy with no lumps. This becomes the soul of your cups, so take a moment with this one.
- Layer the middle sections:
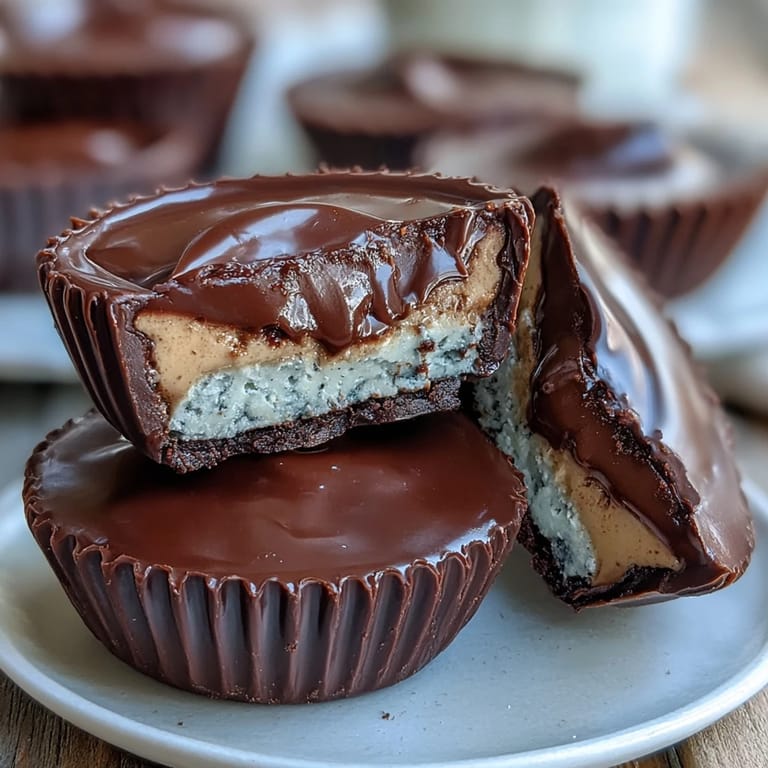
- Top each frozen chocolate base with about a teaspoon of the peanut butter mixture, flatten it gently with your spoon, then add a teaspoon of the yogurt mixture on top. The layers should be roughly even in thickness.
- Seal the cups:
- Cover each layered cup with the remaining melted chocolate, making sure you seal the edges completely so the filling doesn't dry out. Work fairly quickly before the chocolate thickens.
- Freeze until firm:
- Let them freeze for at least an hour—they should feel solid when you press the top gently. Overnight is even better if you can wait.
 Save to Pinterest
 There's something deeply satisfying about peeling back that paper liner and having a perfectly constructed little chocolate cup in your hand, knowing you made it from scratch. These cups have become my answer when someone asks what I'm snacking on during an afternoon work call—and somehow that confession feels less guilty now.
Storage and Keeping Them Fresh
Store these in an airtight container in your fridge or freezer, and they'll keep for up to two weeks (though they rarely last that long in my house). I've found that pulling one out five minutes before I want to eat it gives the Greek yogurt center just enough softness to taste creamy while the chocolate stays snappy.
Smart Substitutions That Actually Work
If peanuts aren't in your life, almond butter makes a slightly milder cup that's actually wonderful, and sunflower seed butter is surprisingly good if you want to sidestep tree nuts entirely. For a lower-sugar version, stevia or monk fruit sweetener works in place of honey, though you might need slightly less since they're more concentrated.
The Little Tweaks That Change Everything
Once you master the basic formula, these cups become a canvas for small experiments that turn them into something uniquely yours. I've added everything from a pinch of espresso powder (which makes the chocolate taste deeper) to a tiny sprinkle of fleur de sel on top before freezing (which makes people ask what the secret ingredient is).
- A very light dusting of sea salt on top of the final chocolate layer adds a sophisticated contrast that keeps people from realizing how protein-forward these actually are.
- If you want extra protein, you can use Greek yogurt that's even thicker (like Fage or Pavel's Russian yogurt), which gives you a denser, more luxurious filling.
- Store extras in a sealed container in the freezer and grab one straight from cold—they taste even better than room temperature because the texture is firmer and more satisfying.
 Save to Pinterest
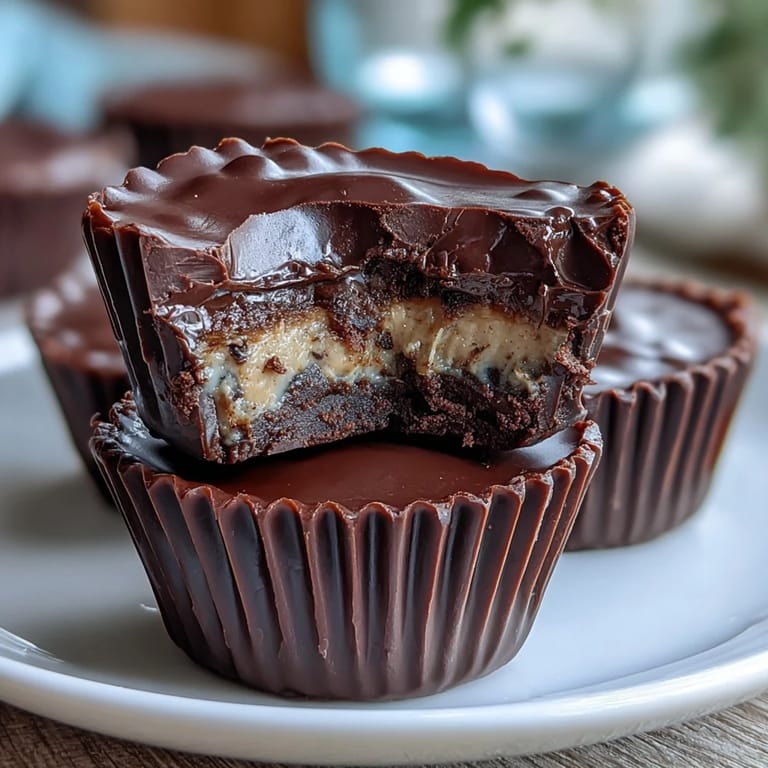
 These cups live in that beautiful space where you feel like you're treating yourself to something indulgent while actually nourishing your body with real food. Make a batch and you'll understand why they've become my go-to snack for every situation.
Recipe FAQs
- → How do I melt the chocolate without burning it?
Melt chocolate in short 30-second bursts in the microwave, stirring between intervals until smooth to avoid burning.
- → Can I substitute peanut butter with other nut butters?
Yes, almond or sunflower seed butter can be used as alternatives for those with peanut allergies or different flavor preferences.
- → What type of Greek yogurt works best for the filling?
Full-fat or 2% Greek yogurt provides the best creamy texture and flavor balance for the filling.
- → How long should the cups chill to set properly?
Chill the cups in the freezer for at least 1 hour to achieve a firm, set texture before serving.
- → Are these suitable for vegetarians and gluten-free diets?
Yes, this preparation is vegetarian-friendly and contains no gluten ingredients.