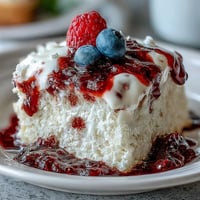
 Save to Pinterest
 The first time I tasted hojicha cheesecake was at this tiny dessert cafe in Kyoto where the owner served it with a knowing smile. I spent weeks trying to recreate that earthy, comforting flavor in my own kitchen, adjusting the ratio of tea to cream until my apartment smelled like a Japanese tea house. Now it's become the dessert I make when I want something that feels sophisticated but still incredibly comforting.
I made this for my sister's birthday last fall and watched everyone go quiet after that first bite. The way the creamy filling balances against that buttery crust with just a hint of roasted tea is something special. She texted me the next day asking if I had any left hidden in the fridge.
Ingredients
- Graham cracker crumbs: These create the perfect buttery foundation that holds up beautifully against the creamy filling
- Unsalted butter: Melt it completely and let it cool slightly so it binds the crust together without making it greasy
- Hojicha tea: This roasted Japanese green tea is the soul of the dish, lending those deep, toasty notes that set this apart from regular cheesecake
- Heavy cream: Use it to infuse the hojicha flavor before adding it to the batter
- Cream cheese: Let it come to room temperature naturally so it blends silky smooth without those stubborn lumps
- Sour cream: This adds just the right amount of tang and keeps the texture impossibly creamy
- Eggs: Room temperature eggs incorporate better and help prevent cracking during baking
Tired of Takeout? 🥡
Get 10 meals you can make faster than delivery arrives. Seriously.
One email. No spam. Unsubscribe anytime.
Instructions
- Prepare your pan and warm the oven:
- Line that springform pan with parchment paper, then preheat to 160°C (325°F) so everything's ready when you are
- Build the buttery crust:
- Mix those graham cracker crumbs with melted butter, sugar, and salt until it feels like wet sand, then press it firmly into your pan and bake for 10 minutes
- Infuse the hojicha cream:
- Heat the heavy cream until it's just steaming, add the hojicha tea, cover it up and let it steep for 10 minutes before straining and cooling it down
- Make the creamy filling:
- Beat that softened cream cheese until it's smooth as silk, add sugar, then beat in those eggs one at a time before mixing in the sour cream, vanilla, and flour
- Create the hojicha swirl:
- Set aside about ⅓ cup of batter and stir in your hojicha cream until it's a gorgeous caramel color
- Swirl it together:
- Pour the plain batter over your cooled crust, drop spoonfuls of hojicha batter on top, then take a skewer and gently swirl through for that marble effect
- Bake until just set:
- Bake for 40 to 45 minutes until edges are firm but the center still gives a little jiggle when you tap the pan
- The slow cooling secret:
- Turn off the oven, crack that door open, and let the cheesecake cool inside for an hour to prevent cracks from forming
- Chill completely:
- Let it cool to room temperature, then refrigerate for at least 5 hours or overnight so the flavors can really develop and the texture can set up perfectly
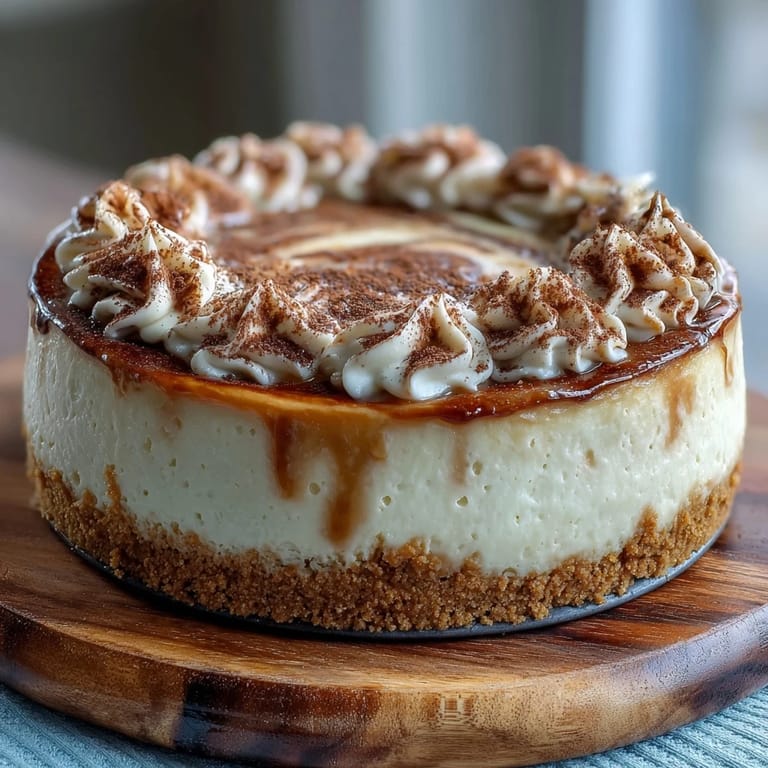
 Save to Pinterest
 This cheesecake has become my go to for dinner parties because it can be made completely ahead of time. Watching friends cut into that beautiful swirl and take that first bite never gets old.
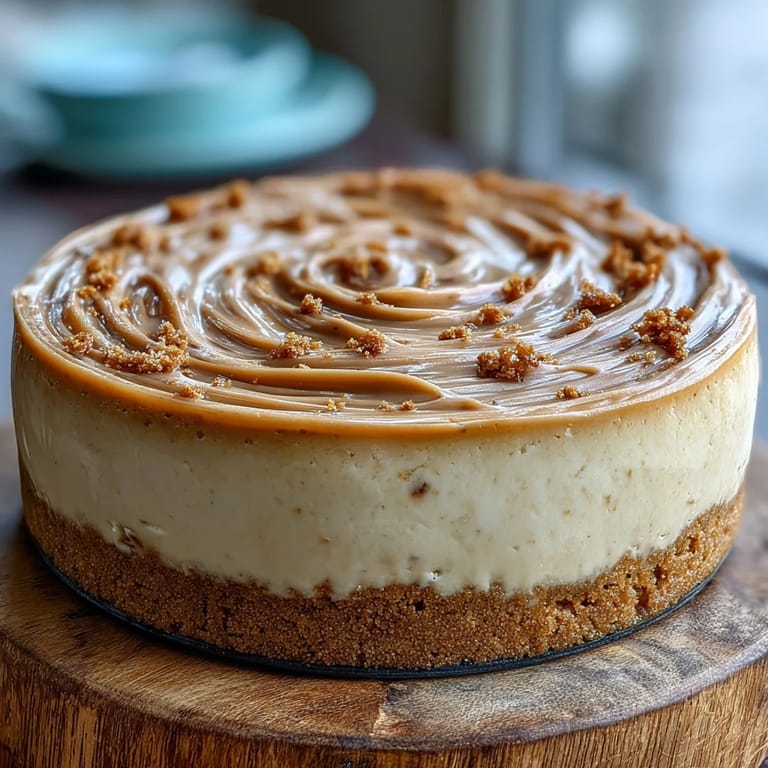
Getting The Perfect Swirl
The trick is not to overthink the marble pattern. Just drop your hojicha batter in random circles over the plain filling, then take a butter knife and drag it through in a figure eight or circular motion. The first pass creates the pattern, the second pass just blends it too much.
Water Bath Or Not
I've tried both methods and honestly, for this recipe, the water bath isn't necessary. That slow cooling in the oven with the door cracked does most of the heavy lifting for preventing cracks. If you're extra worried, run a thin knife around the edge immediately after removing from the oven.
Serving And Storage
This cheesecake actually improves after a day in the fridge as the hojicha flavor deepens and permeates the entire filling. It'll keep for up to five days covered tightly, though it rarely lasts that long in my house.
- Let chilled cheesecake sit at room temperature for 15 minutes before serving for the best texture
- A dusting of hojicha powder or a dollop of lightly sweetened whipped cream takes it over the top
- Run your knife under hot water between slices for perfectly clean cuts
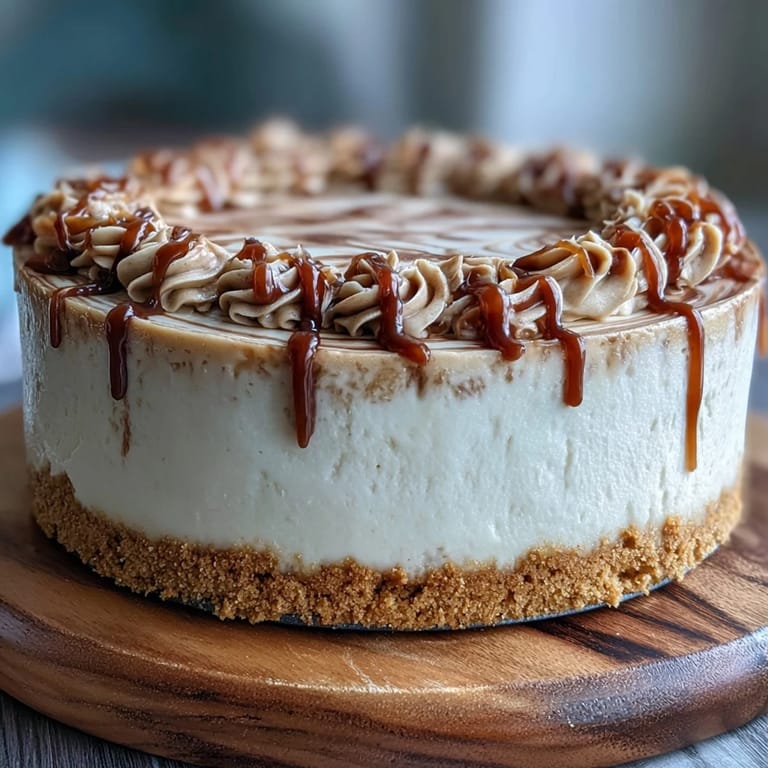 Save to Pinterest
 There's something about the earthy comfort of hojicha combined with the creamy richness of cheesecake that feels like a warm hug in dessert form.
Recipe FAQs
- → What does hojicha taste like in this dessert?
Hojicha brings earthy, roasted notes with subtle caramel undertones that complement the creamy filling beautifully. The tea's naturally low caffeine content makes this dessert perfect for evening enjoyment without concerns about sleep disruption.
- → Can I use hojicha powder instead of loose leaf tea?
Yes, hojicha powder works wonderfully and provides a more intense flavor profile. Simply whisk the powder directly into the cream instead of steeping and straining. Start with one tablespoon and adjust to taste preference.
- → Why does the cheesecake cool in the oven with the door cracked?
This gradual cooling method prevents sudden temperature changes that can cause cracking. The gentle transition from hot to room temperature allows the structure to settle evenly, resulting in a smooth, pristine surface perfect for the hojicha swirl pattern.
- → How long should I chill before serving?
For optimal texture and flavor development, refrigerate for at least five hours, though overnight chilling produces the best results. The extended chilling time allows flavors to meld and the filling to achieve that characteristic velvety, firm consistency that slices cleanly.
- → Can I substitute the graham cracker crust?
digestive biscuits make an excellent alternative with a slightly less sweet profile. For a gluten-free version, crushed gluten-free vanilla cookies or almond flour mixed with butter work well, though texture may vary slightly from traditional graham crust.
- → How do I know when it's done baking?
The edges should appear set and slightly puffed while the center retains a gentle jiggle when the pan is tapped. This residual heat continues cooking the center as it cools, preventing overbaking which would result in a dry, crumbly texture rather than the desired creaminess.