 Save to Pinterest
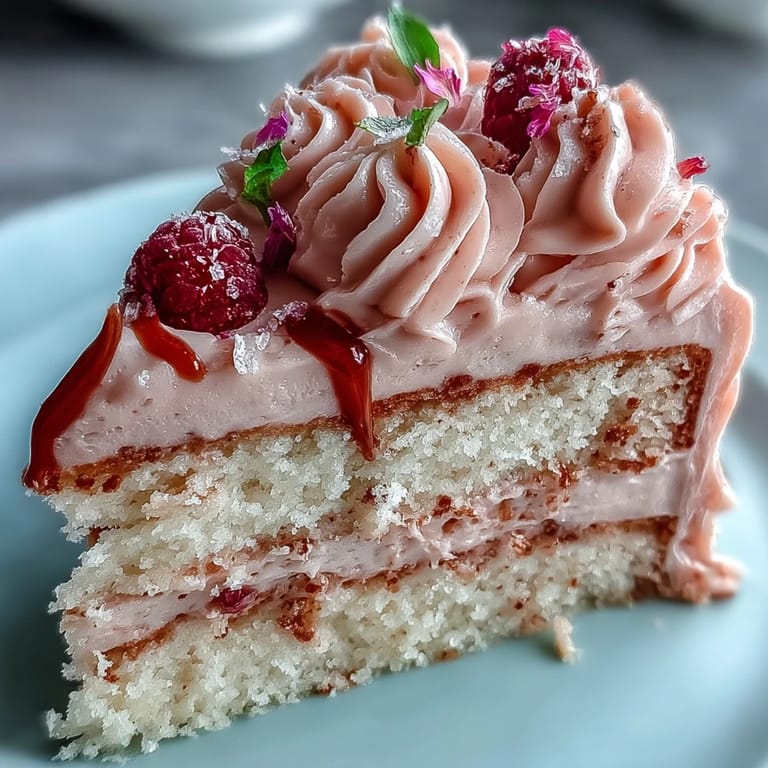
 The first time I set out to make a Rosé Velvet Cake, I was drawn in by the gentle pink of the batter swirling under the mixer—I could almost taste spring in the air despite the rain hammering at my kitchen windows. I remember humming to myself as the wine met the cocoa, a pairing that sounded unusual but smelled undeniably enchanting. The countertop was soon dusted with powdered sugar and flecks of gold luster dust, and my curiosity turned into sheer excitement when I saw how the shimmering drip caught the afternoon light. There’s a playful joy in baking something that’s both pretty and celebratory, making this cake a favorite for bridal showers where smiles and laughter are as plentiful as frosting. If you’re after a showstopper for a special day, this is the cake that holds its own against even the most extravagant centerpieces.
I brought this cake to my best friend’s bridal shower last spring, and the room filled with the kind of quiet anticipation you get right before a surprise pops—everyone paused, forks in midair, admiring the gold edges on each pink slice. After a round of laughter over a mishap with wayward gold dust (which might still be wedged between my kitchen tiles), we celebrated with plates of cake and raised glasses, and my friend swore it tasted as pretty as it looked. It was one of those afternoons where baking felt less like a task and more like a shared secret between old friends. I think the memory of those golden crumbs scattered over lace napkins will stick with me longer than any recipe note. Moments like that make all the patience it takes for a cake to cool absolutely worth it.
Ingredients
- All-purpose flour: Sift it for a soft crumb—clumps are the enemy of a tender cake.
- Granulated sugar: Creams smoothly with eggs and oil, ensuring every bite is sweet with no gritty bits.
- Baking soda: A touch is enough for lift, but too much will give you tunnels—level your spoon.
- Fine salt: Just a pinch, but it keeps the sweetness in check and deepens the flavor.
- Cocoa powder (unsweetened): Even a spoonful gives that signature velvet complexity; don’t skip it.
- Vegetable oil: The secret to a moist crumb that stays soft for days—just don’t use olive oil, which adds its own flavor.
- Large eggs, room temperature: Room temp eggs blend more evenly—let them sit on the counter while you prep everything else.
- Buttermilk, room temperature: Acidic buttermilk tenderizes the cake—if you forget to buy it, add a spoonful of lemon juice to whole milk as a hack.
- Rosé wine: Floral, crisp, and adds a subtle flavor—go for a dry or sparkling rosé that you'd actually like to drink.
- Vanilla extract: Use the good stuff here; it pops against the rosé and buttercream.
- White vinegar: Reacts with the baking soda for perfect rise; no, it won’t make your cake taste pickled.
- Pink or rose gel food coloring: A drop at a time—too much and you’ll get bubblegum pink, so add conservatively.
- Unsalted butter, room temperature: Whip it well in the buttercream for a cloudlike texture.
- Powdered sugar, sifted: Sifting is key for lump-free, fluffy rosé buttercream.
- Heavy cream: Helps create a smooth, pourable white chocolate drip.
- White chocolate chips: Melt gently—scorching ruins the drip and no one wants brown streaks.
- Edible gold luster dust: Make sure it’s marked edible; looks glamorous and is easier to use than you’d think.
- Vodka or clear lemon extract: Use only a little to dissolve the gold and get a paintable texture for those shimmering drips.
Tired of Takeout? 🥡
Get 10 meals you can make faster than delivery arrives. Seriously.
One email. No spam. Unsubscribe anytime.
Instructions
- Prep your pans:
- Line three 8-inch pans with parchment and grease them thoroughly so nothing sticks and the layers pop out easily.
- Mix dry and wet:
- Sift the flour, sugar, baking soda, salt, and cocoa so no lumps survive, then in another bowl whisk the wet ingredients until smooth—the batter will smell floral already.
- Bring it all together:
- Combine wet and dry gently; overmixing steals tenderness—watch for the dreamy pink shade as you swirl in the food coloring.
- Bake:
- Pour batter into pans, smoothing the tops, and bake until the kitchen fills with a buttery, chocolatey scent (30-35 minutes).
- Cool and unmold:
- Let the cakes sit in their pans for 10 minutes, then tip out onto a rack—don’t rush this or they may break.
- Whip up that rosé buttercream:
- Beat butter on high until it looks nearly white, then add powdered sugar in stages, finally blending in rosé, vanilla, and salt for a pink, glossy frosting.
- Assemble and fill:
- If any domes appear, level your cakes, then stack and fill with buttercream, crumb-coat, chill and finish with a final swoop of buttercream all around.
- Make the gold drip:
- Gently melt white chocolate and cream, let it cool slightly, then drizzle just enough so it clings and drips elegantly down the sides.
- Paint with gold:
- Once the chocolate sets, use a tiny brush to paint on the gold luster—this part feels like cake alchemy.
- Decorate as you wish:
- Scatter on roses or edible pearls, and stand back to admire your work before everyone dives in.
 Save to Pinterest
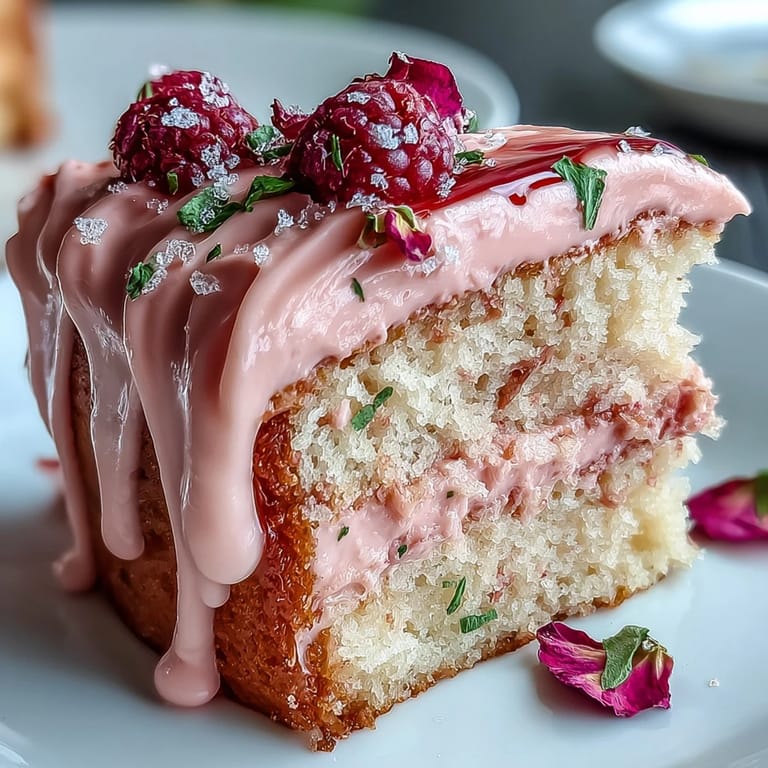
 There was a moment, just as I painted the last golden drip, when my niece tiptoed into the kitchen and gasped—it felt like unveiling a little piece of celebration you can eat. Days later, people still texted asking for a sliver or for the recipe, and that’s when it hit me: this cake wasn’t just dessert, it became a talking point, a memory all on its own.
Choosing Your Rosé: A Little Guide
Picking the rosé sets the whole mood of the cake—too sweet, and the flavor disappears under the sugar; too dry, and it adds a floral sharpness that’s surprisingly refreshing. I like tasting a splash of the wine before adding it in, so I know I’d want to drink it right alongside the finished cake. Sparkling or still rosé both work, but a more vivid pink helps the cake look sunny and cheerful without dumping in too much food coloring. If I have leftovers, I save it for the buttercream or a buoyant little toast when the cake’s done baking. There’s something about matching the wine in the bowl to the glass in your hand that ties the whole event together.
How To Master The Gold Drip
Melting white chocolate with just enough cream is a bit like coaxing a toddler into their shoes—too fast or too rough, and you’ll regret it. Once the mixture cools a little, spoon it on the edges and let it find its way down unhurried for those elegant, envy-worthy drips. The first time, I was timid with the gold luster, but now I go bold—even letting a few drips pool naturally makes it look more luxurious. A tiny paintbrush does wonders, or in a pinch, the back of a clean spoon will do. My tip: don’t overthink it; imperfections shimmer just as brightly.
Final Assembly Made Easy
If stacking cakes makes you nervous, I promise a crumb coat is your best friend—it catches all those pesky crumbs and makes the final layer smooth as a wedding dress satin. Chilling between coats turns a sliding, sticky layer cake into something sturdy enough for even the thickest drip. A chilled offset spatula glides like magic for the last swoops and swirls, so I stash mine in the freezer. Remember to step back and admire your work before the gold goes on—it's as satisfying as the first slice.
- Keep paper towels handy for cleaning up any stray gold paint.
- Decorate with edible flowers or berries for an extra lush look.
- Let the finished cake come back to room temp before serving for that perfect, soft crumb.
 Save to Pinterest
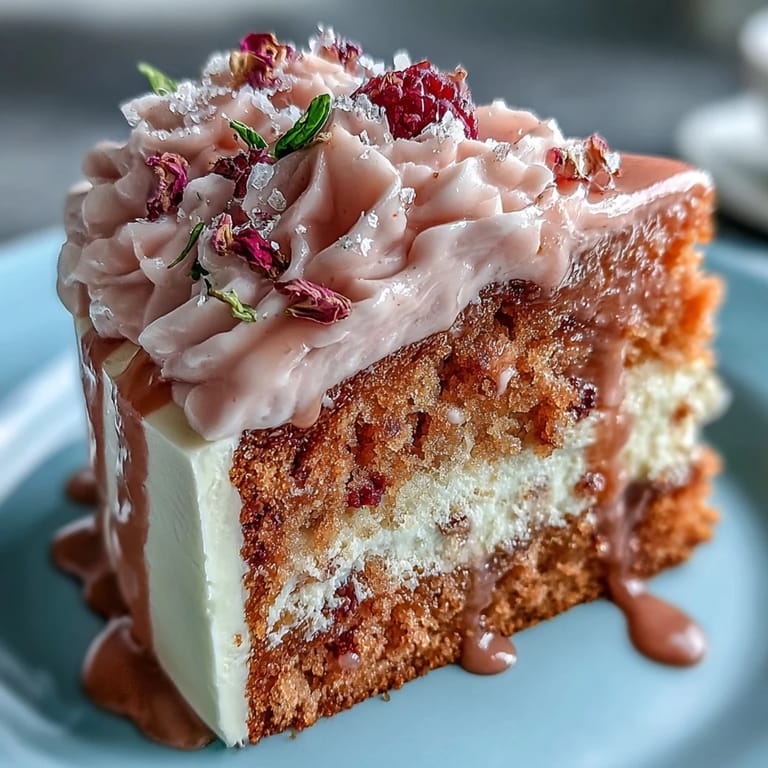
 This Rosé Velvet Cake with its gentle hue and glints of gold makes a celebration feel truly extraordinary. Here’s to cakes that bring people together—and leave a glittering trail of sweet memories behind.
Recipe FAQs
- → What type of rosé works best?
Use a dry or lightly sparkling rosé for a subtle floral and fruity note. Avoid very sweet bottles, which can make the buttercream too sweet; taste first and adjust wine amount for balance.
- → How do I prevent soggy cake layers when using wine?
Fold wine into the wet ingredients rather than brushing it directly onto baked layers. Ensure layers are completely cooled before assembling, and use a thin crumb coat to lock in moisture before the final frosting.
- → How do I get a smooth, stable rosé buttercream?
Beat butter until light and airy before adding sifted powdered sugar gradually. Add rosé in small increments to reach the desired flavor and consistency; chill briefly if the buttercream becomes too soft.
- → Is edible gold luster dust safe to use?
Only use luster dust labeled as edible for direct contact. Mix dust with a small amount of food-safe clear alcohol or lemon extract to make a paint, and test on a small area before decorating the whole cake.
- → Can I make the cake ahead of time?
Yes. Bake and cool layers fully, then wrap and refrigerate or freeze. Assemble and frost up to a day ahead, keeping the finished cake chilled. Bring to room temperature before serving for best texture.
- → How do I achieve an even gold drip?
Cool the white chocolate drip until slightly thickened so it holds before pouring. Pipe small amounts around the edge to control drips, then fill the center and smooth. Paint on gold after the drip sets for a polished finish.